Loading page header ... or Your browser does not support JavaScript
Previous page <>
 |
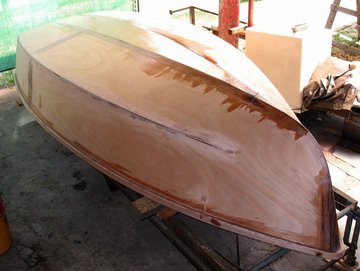 |
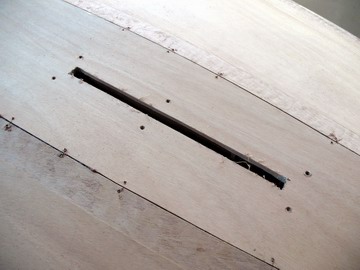
| The slot is cut, note that the keel strake has no recesses cut, only the mating bottom panels. The glass is applied right across the keel strake. | The recesses have been checked and sanded where necessary. |
 |
|
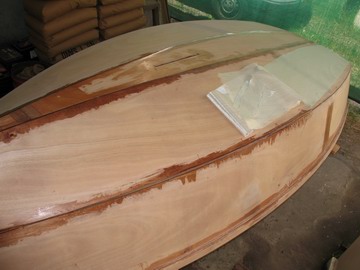
| All gaps along the keel strake are filled. Glass may be applied while the filler is still 'green'. The chines are filled and left to cure and then sanded to a uniform radius. A long-board helps with getting this visually important line of the boat fair. | Two layers of 6oz/200g glass cloth have been applied across the keel strake and squeegeed. The excess epoxy has been used to seal some of the ply. |
 |
|
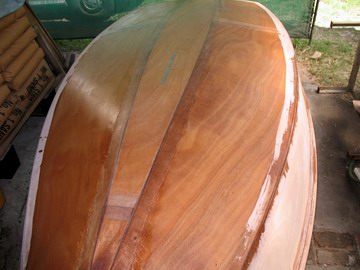
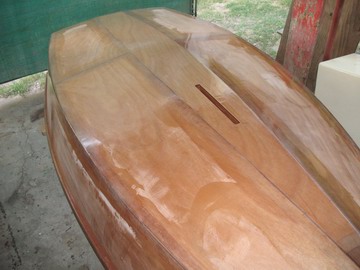
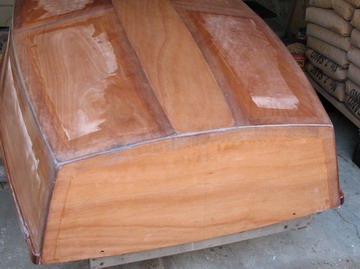
| In this pic the chines have been glassed too and all glass/epoxy has been sanded and filled and faires nicely in. Filling paste is epoxy resin with Aerosil and French Chalk mixed in. It is shiny like this when cured, but will need some scraping and sanding before painting. | A view from the transom end of the boat, at the same stage as the pic on the left. |
 |
|
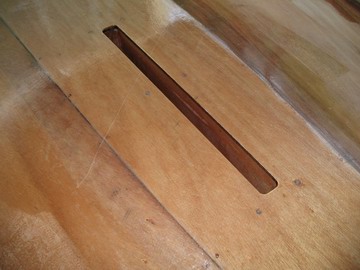
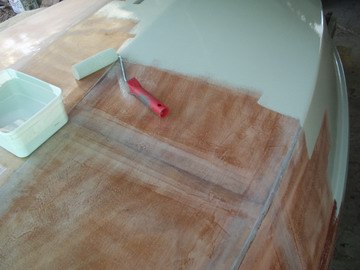
| A close-up of the daggerboard slot after flush trimming with the router. The hard edge is slightly radiused and the raw edges sealed with epoxy. | After some more filling and sanding the hull was ready for the epoxy primer coat. |
 |
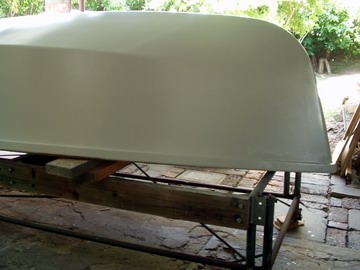 |
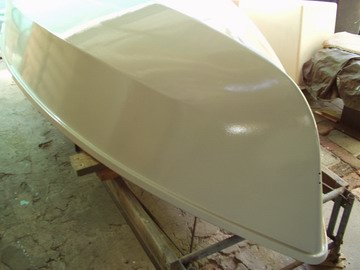
| When applying paints like this high build primer with a foam roller, it helps to thin the paint a little for a smoother finish. | The primer will need just a little bit of sanding in places before the polyurethane finish coats go on. |
Loading first page footer ... or Your browser does not support JavaScript
Loading second page footer ... or Your browser does not support JavaScript