Loading page header ... or Your browser does not support JavaScript
Previous page <>
Next 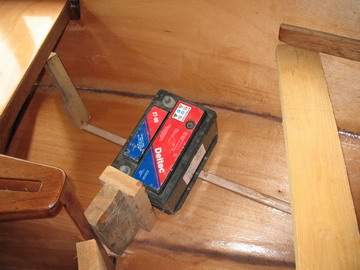 |
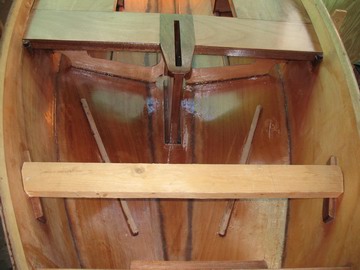 |
| Floor stiffeners in the forepart are fitted to the "built" boat, rather than glued to the panels before assembly. Note the use of struts from the midthwart and temporary beam under fore-thwart cleats. | The glue has set and the bare wood will be sealed when next some resin is left over. |
 |
|
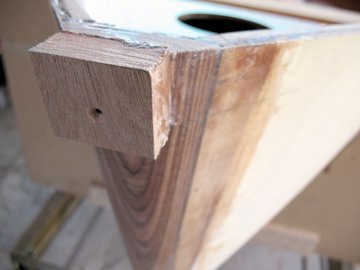
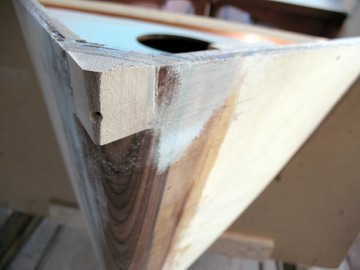
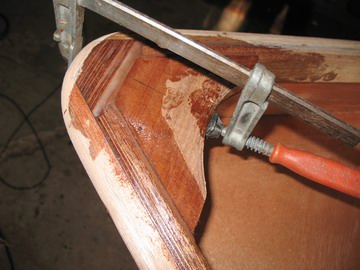
| The upper part of the stem needs packing up for the outwale. | Packing piece shaped. Once the outwale has been glued to this there will be enough material to create a nicely rounded shape to match the rounded stem. |
 |
|
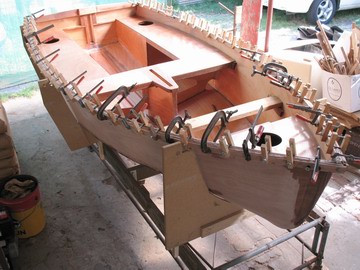
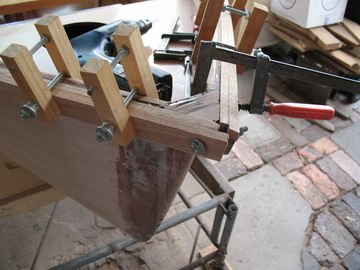
| Both outwales are first dry-fitted. The outwales are two laminations of 10mm / 3/8in meranti and will be glued up in one operation. | The laminations overshoot the packing piece and a bolt through p&s outwales adds some useful clamping pressure. |
 |
|
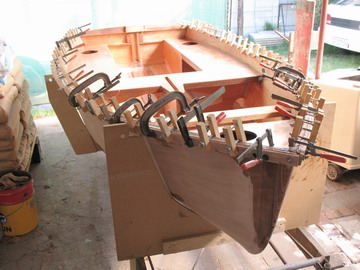
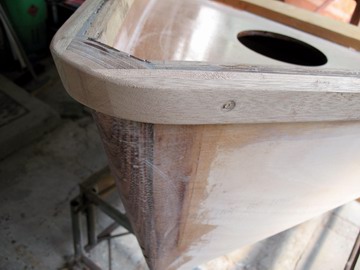
| Having done the dry-run, it was quite an uneventful glue-up. What is not visible in these pics is that alignment of the laminations is assured by three screws per side. The middle one is tightened first, then the two ends of the outwale laminations are slotted into the cutouts in the upper arms of the cradle. After that its just a matter of adding more and more clamps and cleaning up the excess epoxy paste squeezed out at the bottom! | The gunnel's upper face is then cleaned up while the epoxy is still 'green'. After the bulk of the excess epoxy is cleaned off with a chisel let it cure some more. A hand plane does a good job in combination with a belt sander in getting a fair upper face. Next the outwale's stem rounding is tackled. |
 |
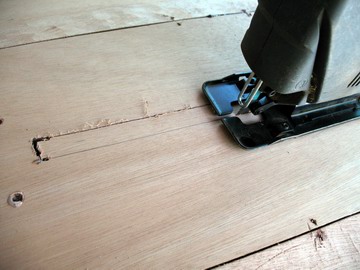 |
| The gunnel's upper corners which are still square can be rounded off with the router. The breasthook is fitted up and glued on next. | Quarter knees and mast base should be next, but a weekend is better suited to glassing the outside, so the dinghy gets turned over and the daggerboard slot is cut next. This is done very much undersize to allow the glass to lie flat. Later with the flush trim bit it will get cut to size. |
Top of Page
Loading first page footer ... or Your browser does not support JavaScript
Loading second page footer ... or Your browser does not support JavaScript