Loading page header ... or Your browser does not support JavaScript
Previous page <> Next
Building the 'Foldo' folding dinghy, continued: |
|
 |
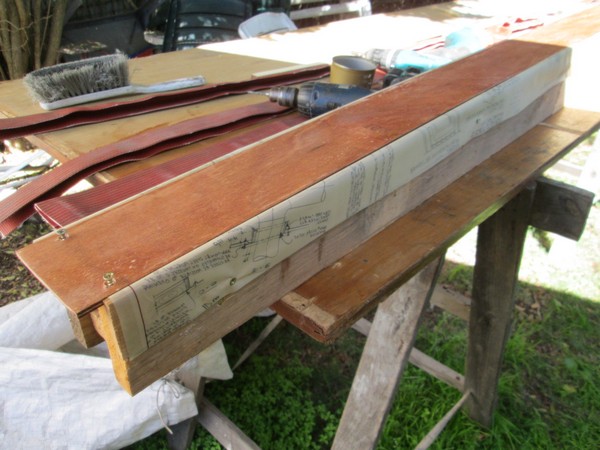 |
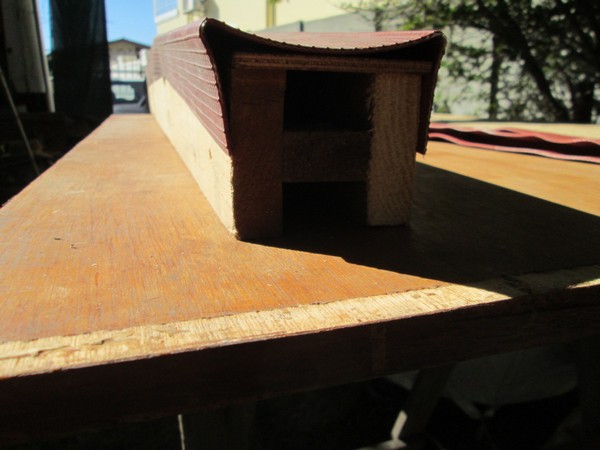
| Close up showing how keel hinge fits on the jig. | Assembled keel strake complete with spacers fixed to the jig at either end. Prior to glueing, the hinge-hose will be sanded to roughen up the surface of the hose and degreased with lacquer thinners. |
|
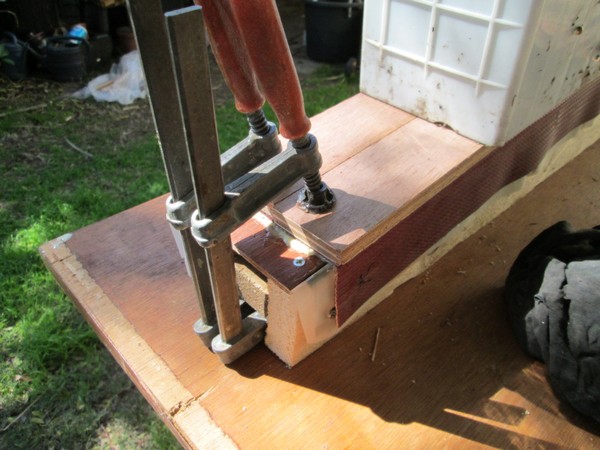 |
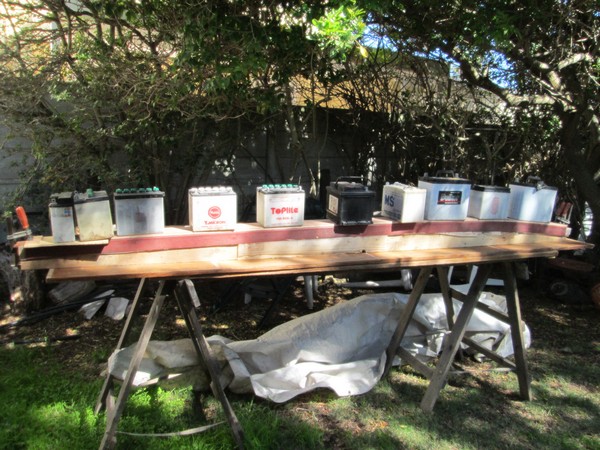
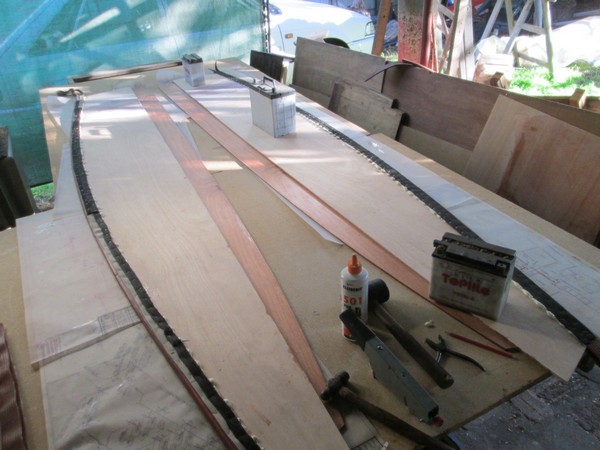
| The glue used for glueing the hinges (and later the PVC sheeting closing in the transoms) to the plywood is a single pack Polyurethane. I managed to get KLEIBERIT 501 PUR, an excellent glue. Comes in a 500ml dispenser and one pack was enough for the job. To ensure that the hose is pressed down evenly during gluing, a 9mm plywood strip is placed on top of the hose, spreading the pressure applied by the batteries. | Locating screws on the keel strake that is purposely over-long. Most of the glueing pressure is provided by weights (batteries), but at the ends a few clamps are more effective. |
|
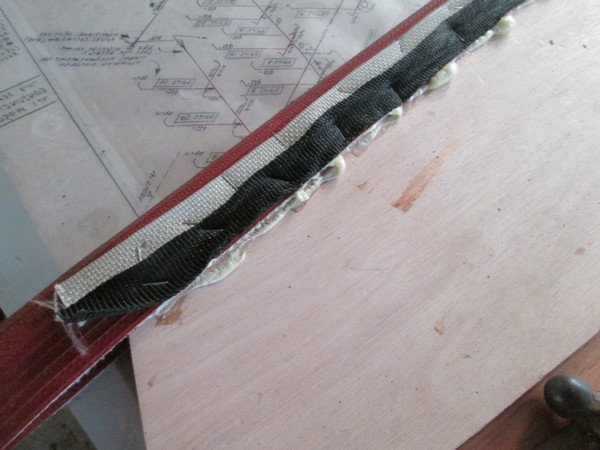 |
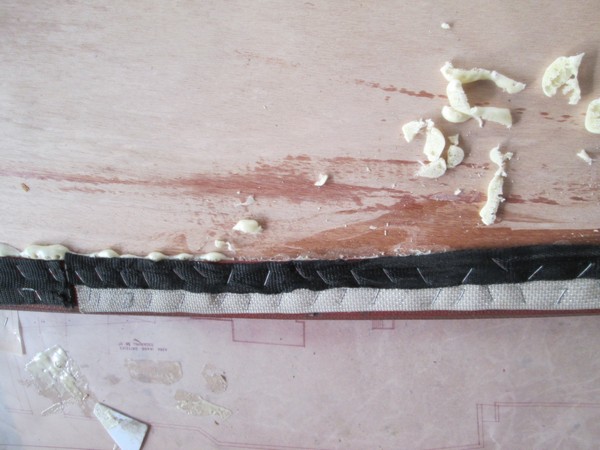
| The bottom and topside panels were joined next by glueing the 'hinge' hose on. Staples were used and to ensure easy removal of staples they were punched in through webbing. | Close up showing webbing and staples, also 'sqeeze-out', which in the case of PU glue expands into a foam. |
|
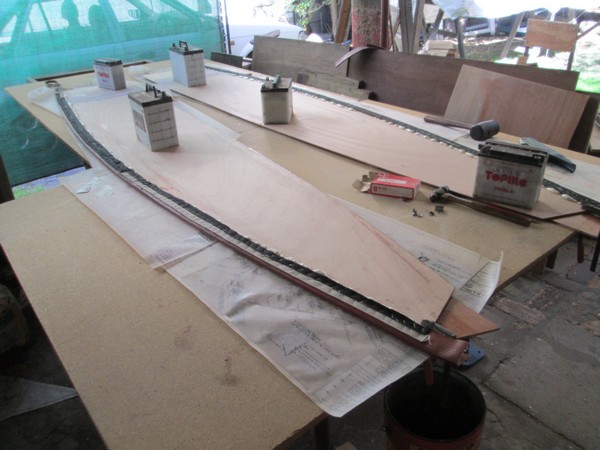 |
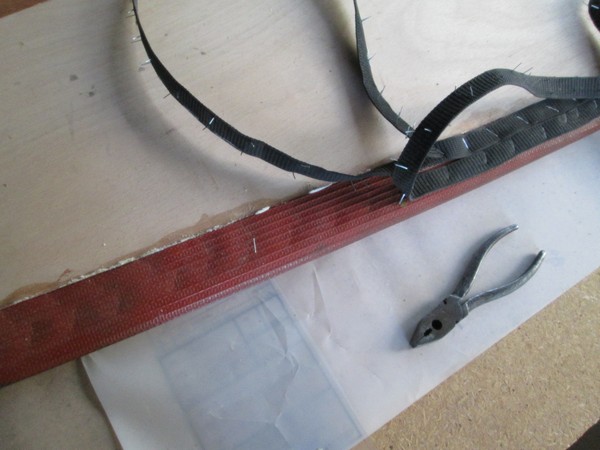
| Most of the staples are removed by pulling the webbing off, the occasional staple seemed to escape and had to be pried out. | After glueing the hinge to one side (bottom panel), the two panels were turned over as a unit (clamps hold them together) and the other side (topside) glued on. |
|
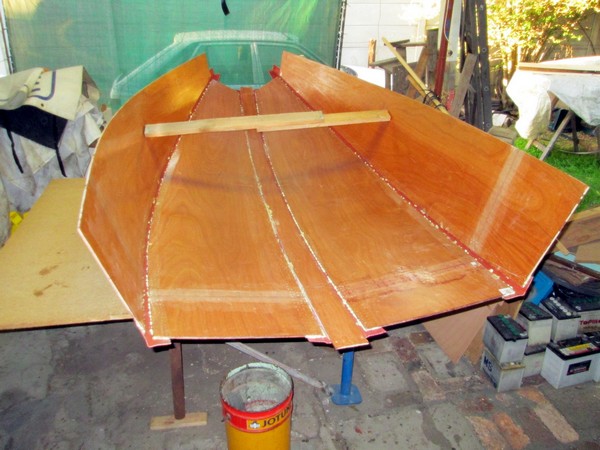 |
| Cleaning up the 'sqeeze-out': the foamy mess is easiest removed soon after the glue has set up, by using a chisel as scraper. | Using the same technique the two hull halves were glued to the keel strake using the jig. Opened up it is already looking like a boat! |
Top of Page
Loading first page footer ... or Your browser does not support JavaScript
Loading second page footer ... or Your browser does not support JavaScript