Loading page header ... or Your browser does not support JavaScript
Previous page <> Next Building the 'Piragua' - continued: |
|
 |
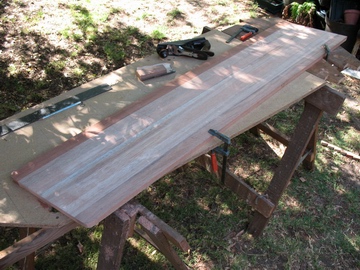 |
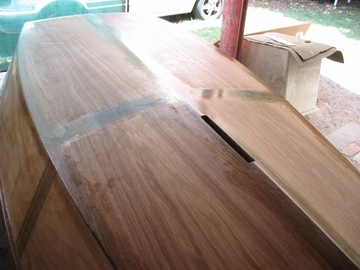
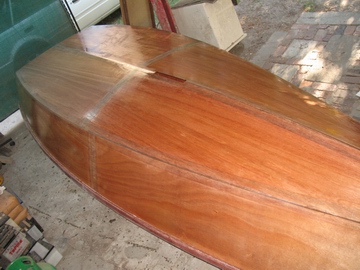
| All the glassed areas have had a first application of filler. Raw plywood has been sealed with epoxy. | While the filler cures there is a good opportunity to start with the daggerboard. The blank has been tidied up by sanding and the ends trimmed to shape. |
|
 |
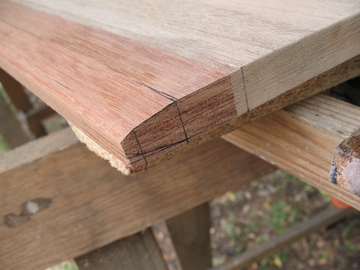
| Shaping of the foil starts with the leading edge. The process is similar to rounding a spar, but instead of eight-siding there are three tapers to plane as a rough approach to the leading edge shape . | In the meantime the filler has cured sufficiently for a second layer to go on, as well as another seal coat on the plywood. |
|
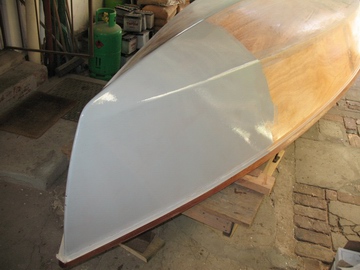 |
| After sealing and filler application some light sanding is required and then the hull is ready for painting. | An epoxy based two part high build primer is used for good adhesion. This particular primer also sands well and can be applied by foam roller. |
|
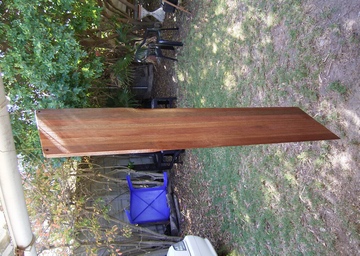 |
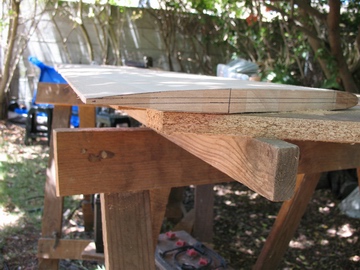
| Continuing with the shaping of the dagger board. This is the trailing edge with both tapers planed, ready for final shaping and sanding. | The daggerboard after having three coats of epoxy resin applied. The board is hanging from the roof overhang, pic should be portrait format, but landscape fits better... |
|
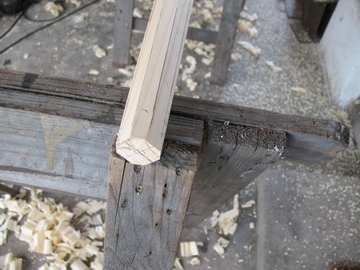 |
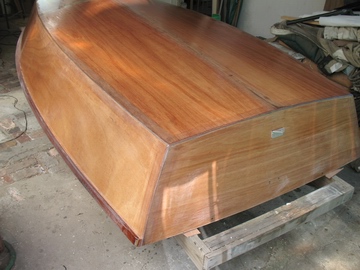
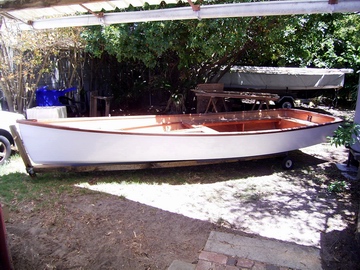
| The hull was finished off on the outside with three coats of polyurethane paint and sits on its dolly in this shot. | The mast, gaff & mainsail of the 'Swift' is going to be used for this boat but with a sprit boom instead of the conventional boom. The sprit is made from square pine stock. |
Previous page <> Next
Top of Page
Loading first page footer ... or Your browser does not support JavaScript
Loading second page footer ... or Your browser does not support JavaScript