Loading page header ... or Your browser does not support JavaScript
Previous page <> Next Building the 'Piragua' - continued: |
|
 |
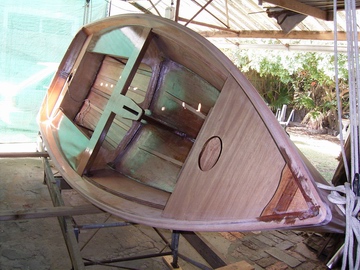 |
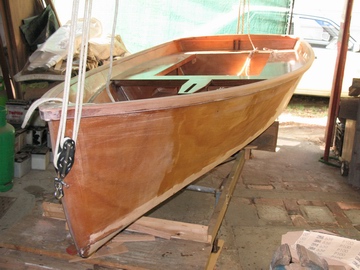
| Getting ready to turn her over. I use two self cleating handy billies. That way I can do the job single handed. | Nearly halfway over... |
|
 |
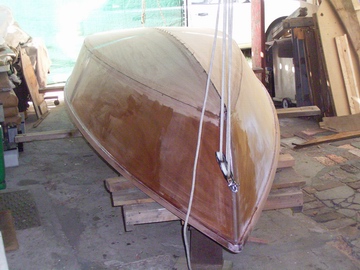
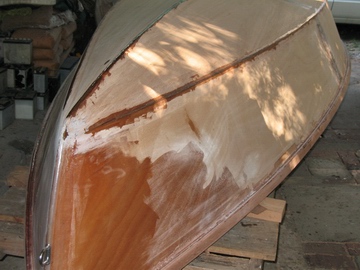
| She rests nicely on the strongback, now I can glass the keel and chines. | The outside needs to be rounded off well and to do that a little filling is required to close the gaps. |
|
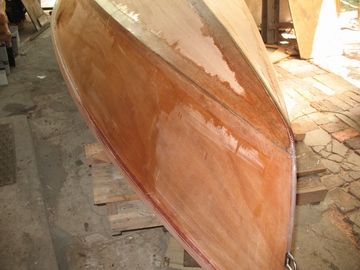 |
| The same filler mix as for the filleting of the inside joints is carefully applied. The edges of the ply have already been broken, thus minimizing the amount of filler required. While the epoxy filler was still 'green', I planed the chines and keel to an even radius. | After planing I sanded with a long board and applied the glass. The external glass is recessed. After a little scraping to deal with the cut edges, it will only need a little filling to get rid of the weave. |
|
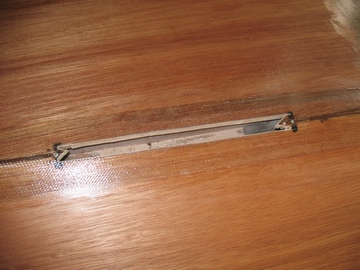 |
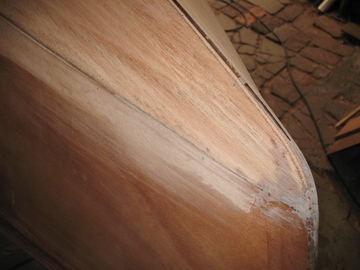
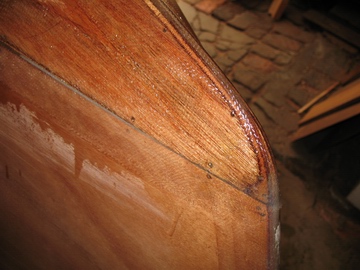
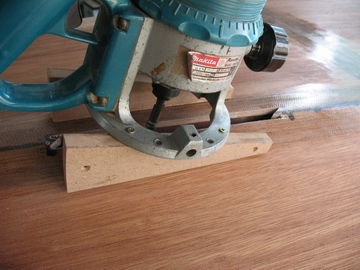
| A close-up of the stem, as glassed and without filler. The as yet un-sealed ply surfaces then received a coat of epoxy. | After stitch-drilling in two places, the daggerboard slot is rough cut with the jib saw. |
|
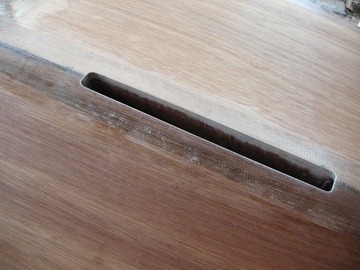 |
| As the daggerboard slot slants aft, two angled pieces of MDF are fitted to the router base and then the slot is finish cut using a flush trim bit. | Just a little bit of sanding to break the sharp edges and the slot is ready for application of epoxy to seal the freshly cut ply edges. |
Previous page <> Next
Top of Page
Loading first page footer ... or Your browser does not support JavaScript
Loading second page footer ... or Your browser does not support JavaScript