Loading page header ... or Your browser does not support JavaScript
Previous page
Building the 'Sinbad 2' kit - continued: |
|
 |
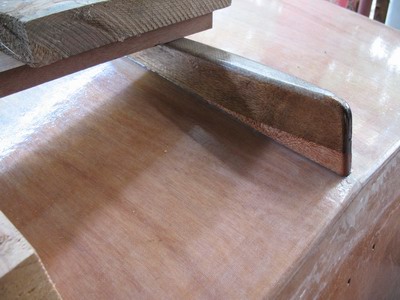 |
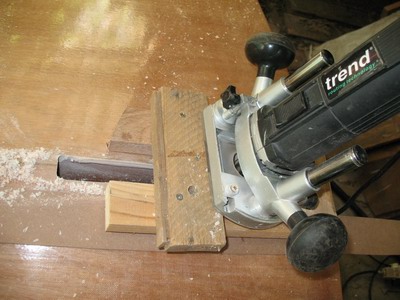
| A simple jig angles the router to match the angle of the slot (the dagger board angles aft). A flush-trim router bit cleans up the rough cut opening neatly. Note the loose strip of 3mm MDF on the side of the cut to correct vertical angle. | The skeg being glued on. Three layers of 400 g/m2 glass have been applied to the bottom of the skeg as wear protection. |
|
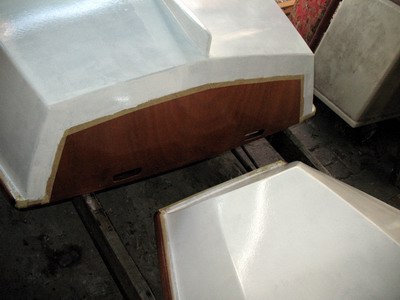 |
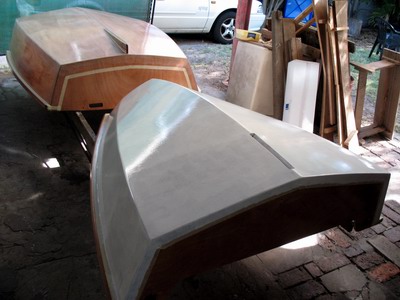
| After water papering (#80 grit) for a good key and applying masking tape its time to start painting. | I have chosen to leave the transom mostly clear, painting only the glassed area as it is a bit dull. |
|
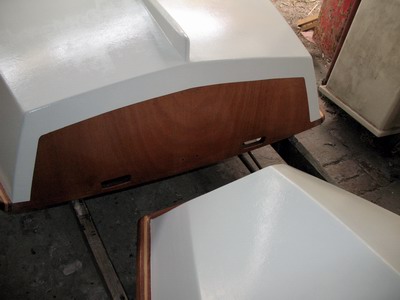 |
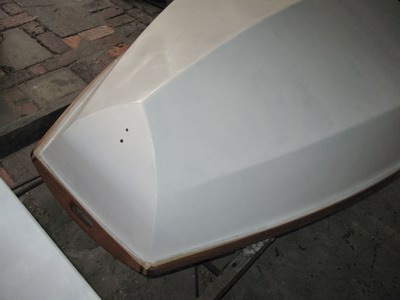
| The bow transom was painted white. This first coat took 350cc (0.3 liter) of a twin pack polyurethane (Jotun Hardtop AS), which worked well on previous dinghies. This works out to about 60cc/m2. Second and third coat were down to 300cc or 50cc/m2. | This is after the third coat of polyurethane paint and with the masking tape stripped off. For the next few days I let the paint harden properly. |
|
 |
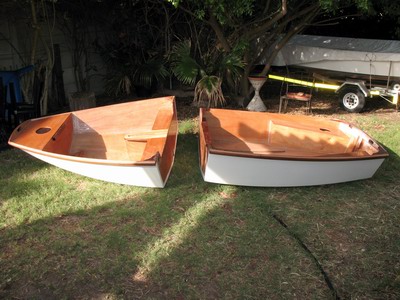
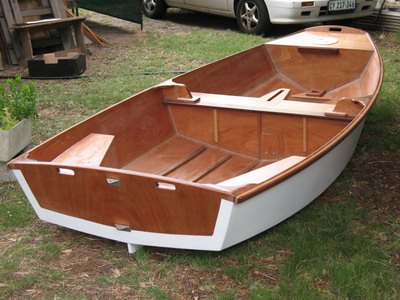
| The two halves placed on the ground ready for the hardware to be bolted on. | First fitted were the bits to join the hull sections. |
|
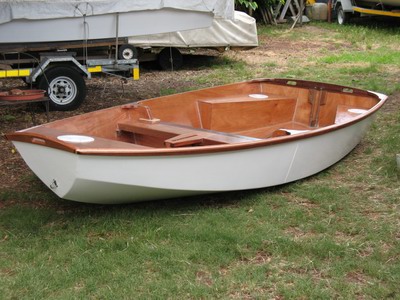 |
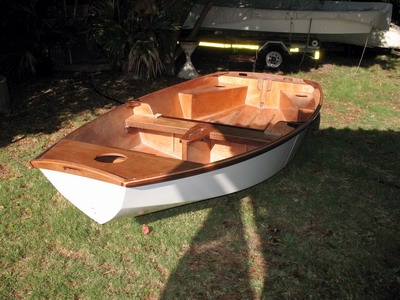
| Gudgeons, towing U-bolt and inspection hatches were next. | Now the dinghy is finished and looking really smart! A separate series will deal with building of mast and spars. |
Previous page
Top of Page
Loading first page footer ... or Your browser does not support JavaScript
Loading second page footer ... or Your browser does not support JavaScript