Loading page header ... or Your browser does not support JavaScript
Previous page <> Next
Building the 'Piragua' - continued: |
|
 |
 |
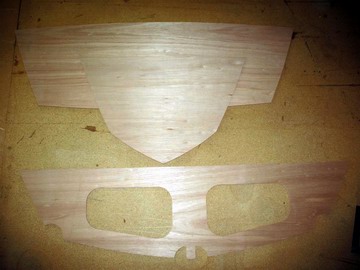
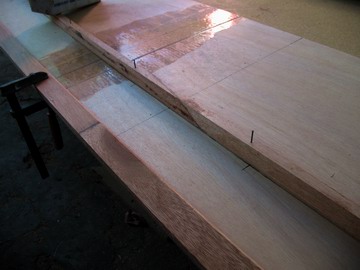
| Each of these panels is then used to make an exact copy by first drawing a line around it. Remember to make mirrored parts by flipping the first panel over. Cutting out is done with a jigsaw to within a couple of millimeters (accuracy is not important as long as the part is larger than the original). Clamp the two panels together, original at the bottom and then make a copy by using a router with flush trim bit. (the bearing runs on the finished panel's edges). | The mid-bulkhead is made up by first making the cut-outs using a router with circle cutting attachment. The other cuts are done with the jigsaw. |
|
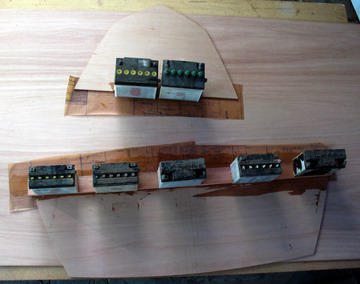 |
| Transom, forepeak bulkhead and mid bulkhead have been cut out. | Reinforcing strips are glued on. Note Mylar film placed under parts to avoid gluing them to whatever you are working on. |
|
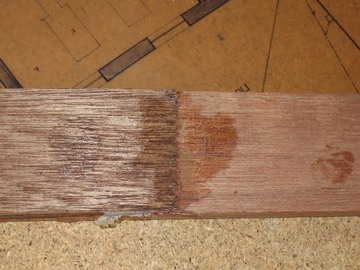 |
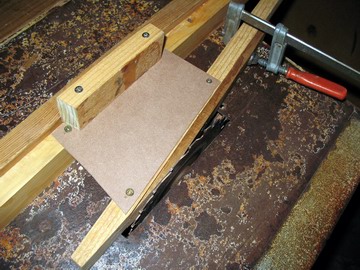
| A simple jig for cutting scarfs on gunnel and stringer stock using a table saw, Heath Robinson would love mine... This boat needs 4.8m long laminations for the gunnel. | The finished scarf glued up and just after taking off the Mylar strips. Clean up is quickly done with a belt sander. |
|
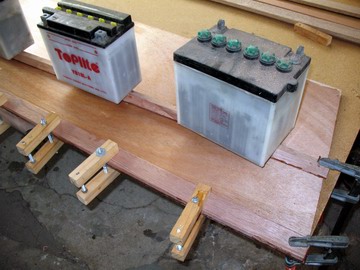 |
| Dry-fitting the inwale (the inner lamination of the gunwale) and the seat stringer. Note panel pins to help locate the solid timber later on during gluing.. | Before installing the inwale and stringer it is best to seal the plywood with a coat of epoxy. The gluing is done straight after completing the seal coat, while the epoxy is still wet. Lots of clamps and weights till epoxy has cured... |
|
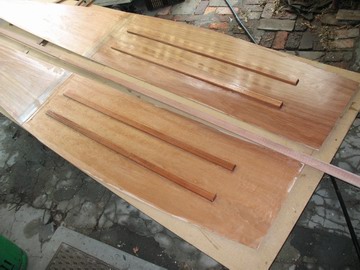 |
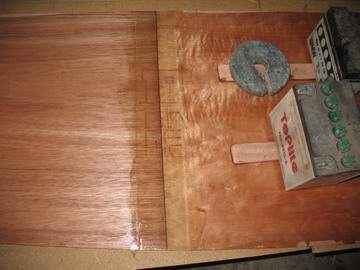
| The bottom panels have floor stiffeners fitted straight onto the wet seal coat. If at all possible always do both port and starboard panels at the same time. Saves time and nearly doubles rate of progress... | 13-11-2011: All panels and bulkheads, transom completed. Drilling for wire stitching, routing recesses on the outside of panels is next and then its the daggerboard case and the molds to make up the construction cradle. |
Previous page <> Next
Top of Page
Loading first page footer ... or Your browser does not support JavaScript
Loading second page footer ... or Your browser does not support JavaScript