Loading page header ... or Your browser does not support JavaScript
Previous page <> Next Building the 'Piragua' - continued: |
|
 |
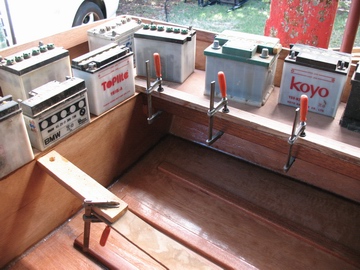 |
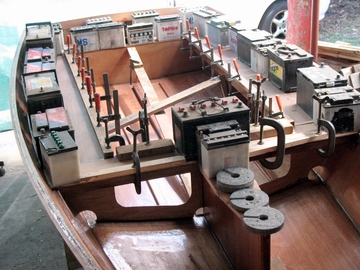
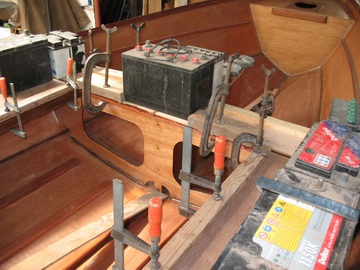
| Gluing the seat tops on - all in one go. Batteries provide part of the pressure | clamps are used where they can be applied. Two temporary struts ensure straightness of seat tops. (By the way, I was curious and weighed the batteries afterwards - 300kg!) |
|
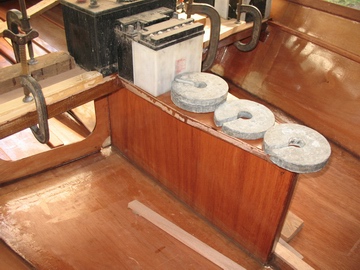 |
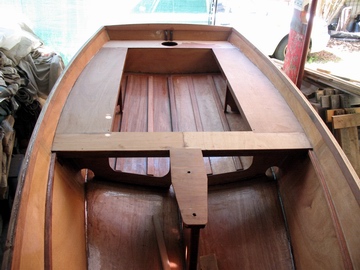
| View forward shows the mid seat and | the top of the daggerboard case with its ply top. |
|
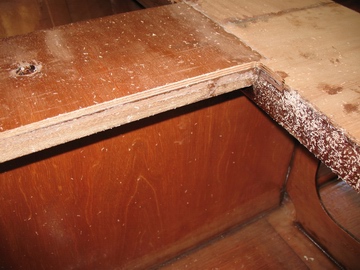 |
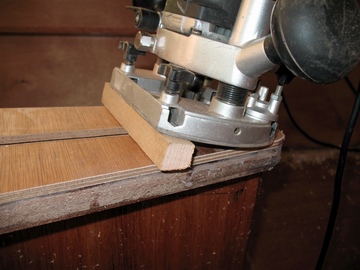
| Next day all the weights and clamps were removed. While the epoxy was green, some excess epoxy was scraped off. | The plywood was purposely left to overshoot the framework underneath so the flush trim bit of the router could be used to square it off exactly. |
|
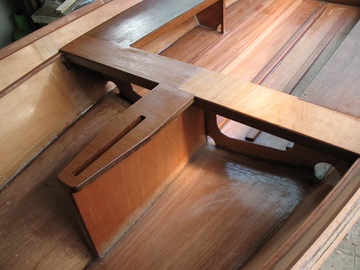 |
| The daggerboard slot was opened up with a jigsaw and by tilting the router to the angle of the slot, this was trimmed back too. | The previously squared off edges were then rounded and all the seat surfaces given a seal coat. |
|
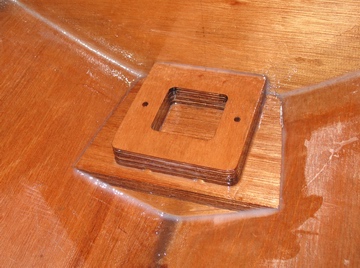 |
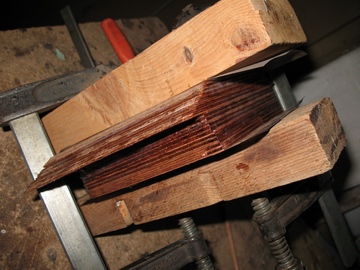
| The mast base is made up of a number of laminations. Two dowels driven through all laminations ensure the parts stay aligned while the glue sets. | The three base layers were individually dry-fitted and needed little final fit-up after gluing. The four parts of the socket were template routed. Note the dowels.. |
Previous page <> Next
Top of Page
Loading first page footer ... or Your browser does not support JavaScript
Loading second page footer ... or Your browser does not support JavaScript