Loading page header ... or Your browser does not support JavaScript
Previous page <> Next Building the 'Swift' - part 3:Continuing the building of the "'Swift'". In the previous section the interior fit-out got as far as fitting the keelhog, seat risers, bulkheads and pre-assembled centerboard case.We will now fit the seat-tops, trims for the seats and the capping for the centerboard case. Finally we will complete the gunnel, fit quarterknees and breasthook. |
|
 |
 |
|
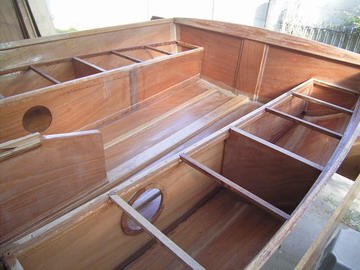
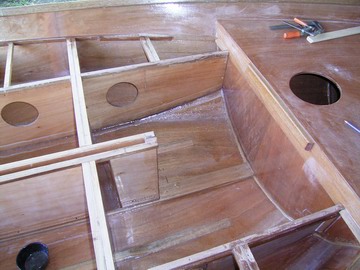
The two pictures show the seat cross-beams have been fitted and the seatrisers glassed where they meet the hull bottom. Note in the pic at right, the heavy cross-beams near the main bulkhead. U-bolts fitted through these beefed up beams will serve as chainplates for the shrouds. |
|
 |
|
|
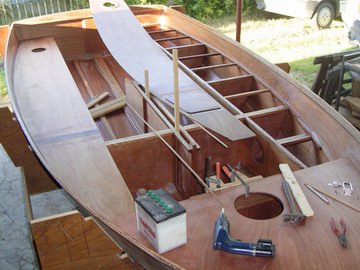
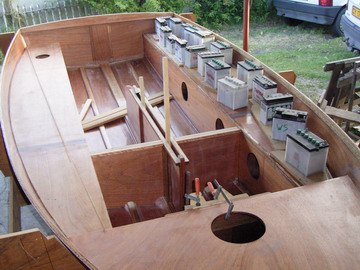
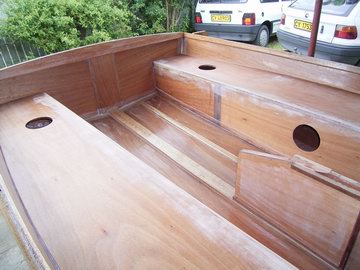
Left pic: The seattops have been reinforced with a glued on doubler ply so the jib fairlead can be screwed down later. Holes for the U-bolts have been predrilled and the seattops are ready to be glued down. All surfaces that will be inaccessible have been sealed with epoxy. Right pic: The portside seat being glued. Note the use of weights. A few chipboard screws locate the ply. The centerboard case has two battens inserted to keep the correct gap. |
|
 |
|
|
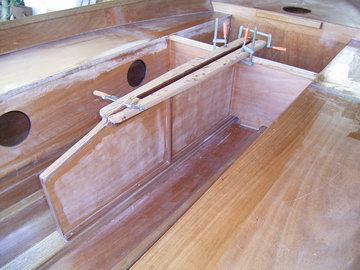
Left pic: both seattops glued in place Right pic: the wide capping to the upper edge of the centerboard case being glued on. The capping timber was fitted and pre-finished at the preassembly stage. Temporary fasteners are screwed into the capping timbers from underneath. The clamps provide additional pressure till the glue has set. |
|
 |
|
|
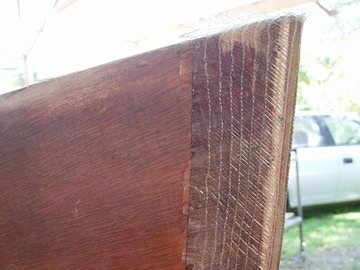
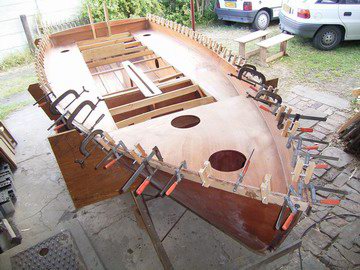
Left pic: The outside of the stem glassed to just below the towing U-bolt. Stem and upper transom edges need to be glassed prior to gluing the outwales on. The recess to make the glass flush shows up darker due to the the inner plies and glue being exposed. Right: The first lamination of the outwale glued on. Both sides of the boat are done together. Note the use of clamps and home-made wooden cramps. |
|
 |
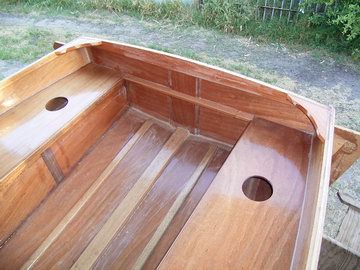 |
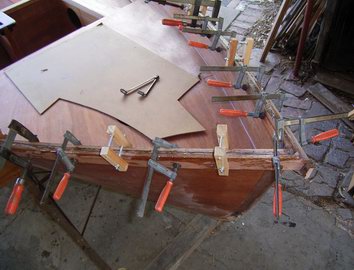
| Left pic: second lamination of outwale being glued. The lower edge has been rounded off with a TCT router bit prior to gluing. The last picture shows the quarterknees fitted. Note that the upper face of the gunwale has already been planed. The gunwale, quarterknees and breasthook upper edges are still sharp and will have to be rounded over next. |
|
Top of Page
Loading first page footer ... or Your browser does not support JavaScript
Loading second page footer ... or Your browser does not support JavaScript